Part 2: Setup Hardware Wallet
Most folks who are setting up Lily for the first time already have used a hardware wallet in the past with software like Ledger Live, Trezor Wallet, or Electrum.
We will begin this tutorial by going through connecting a single hardware wallet to Lily.
This next part will go through setting up a single sig hardware wallet
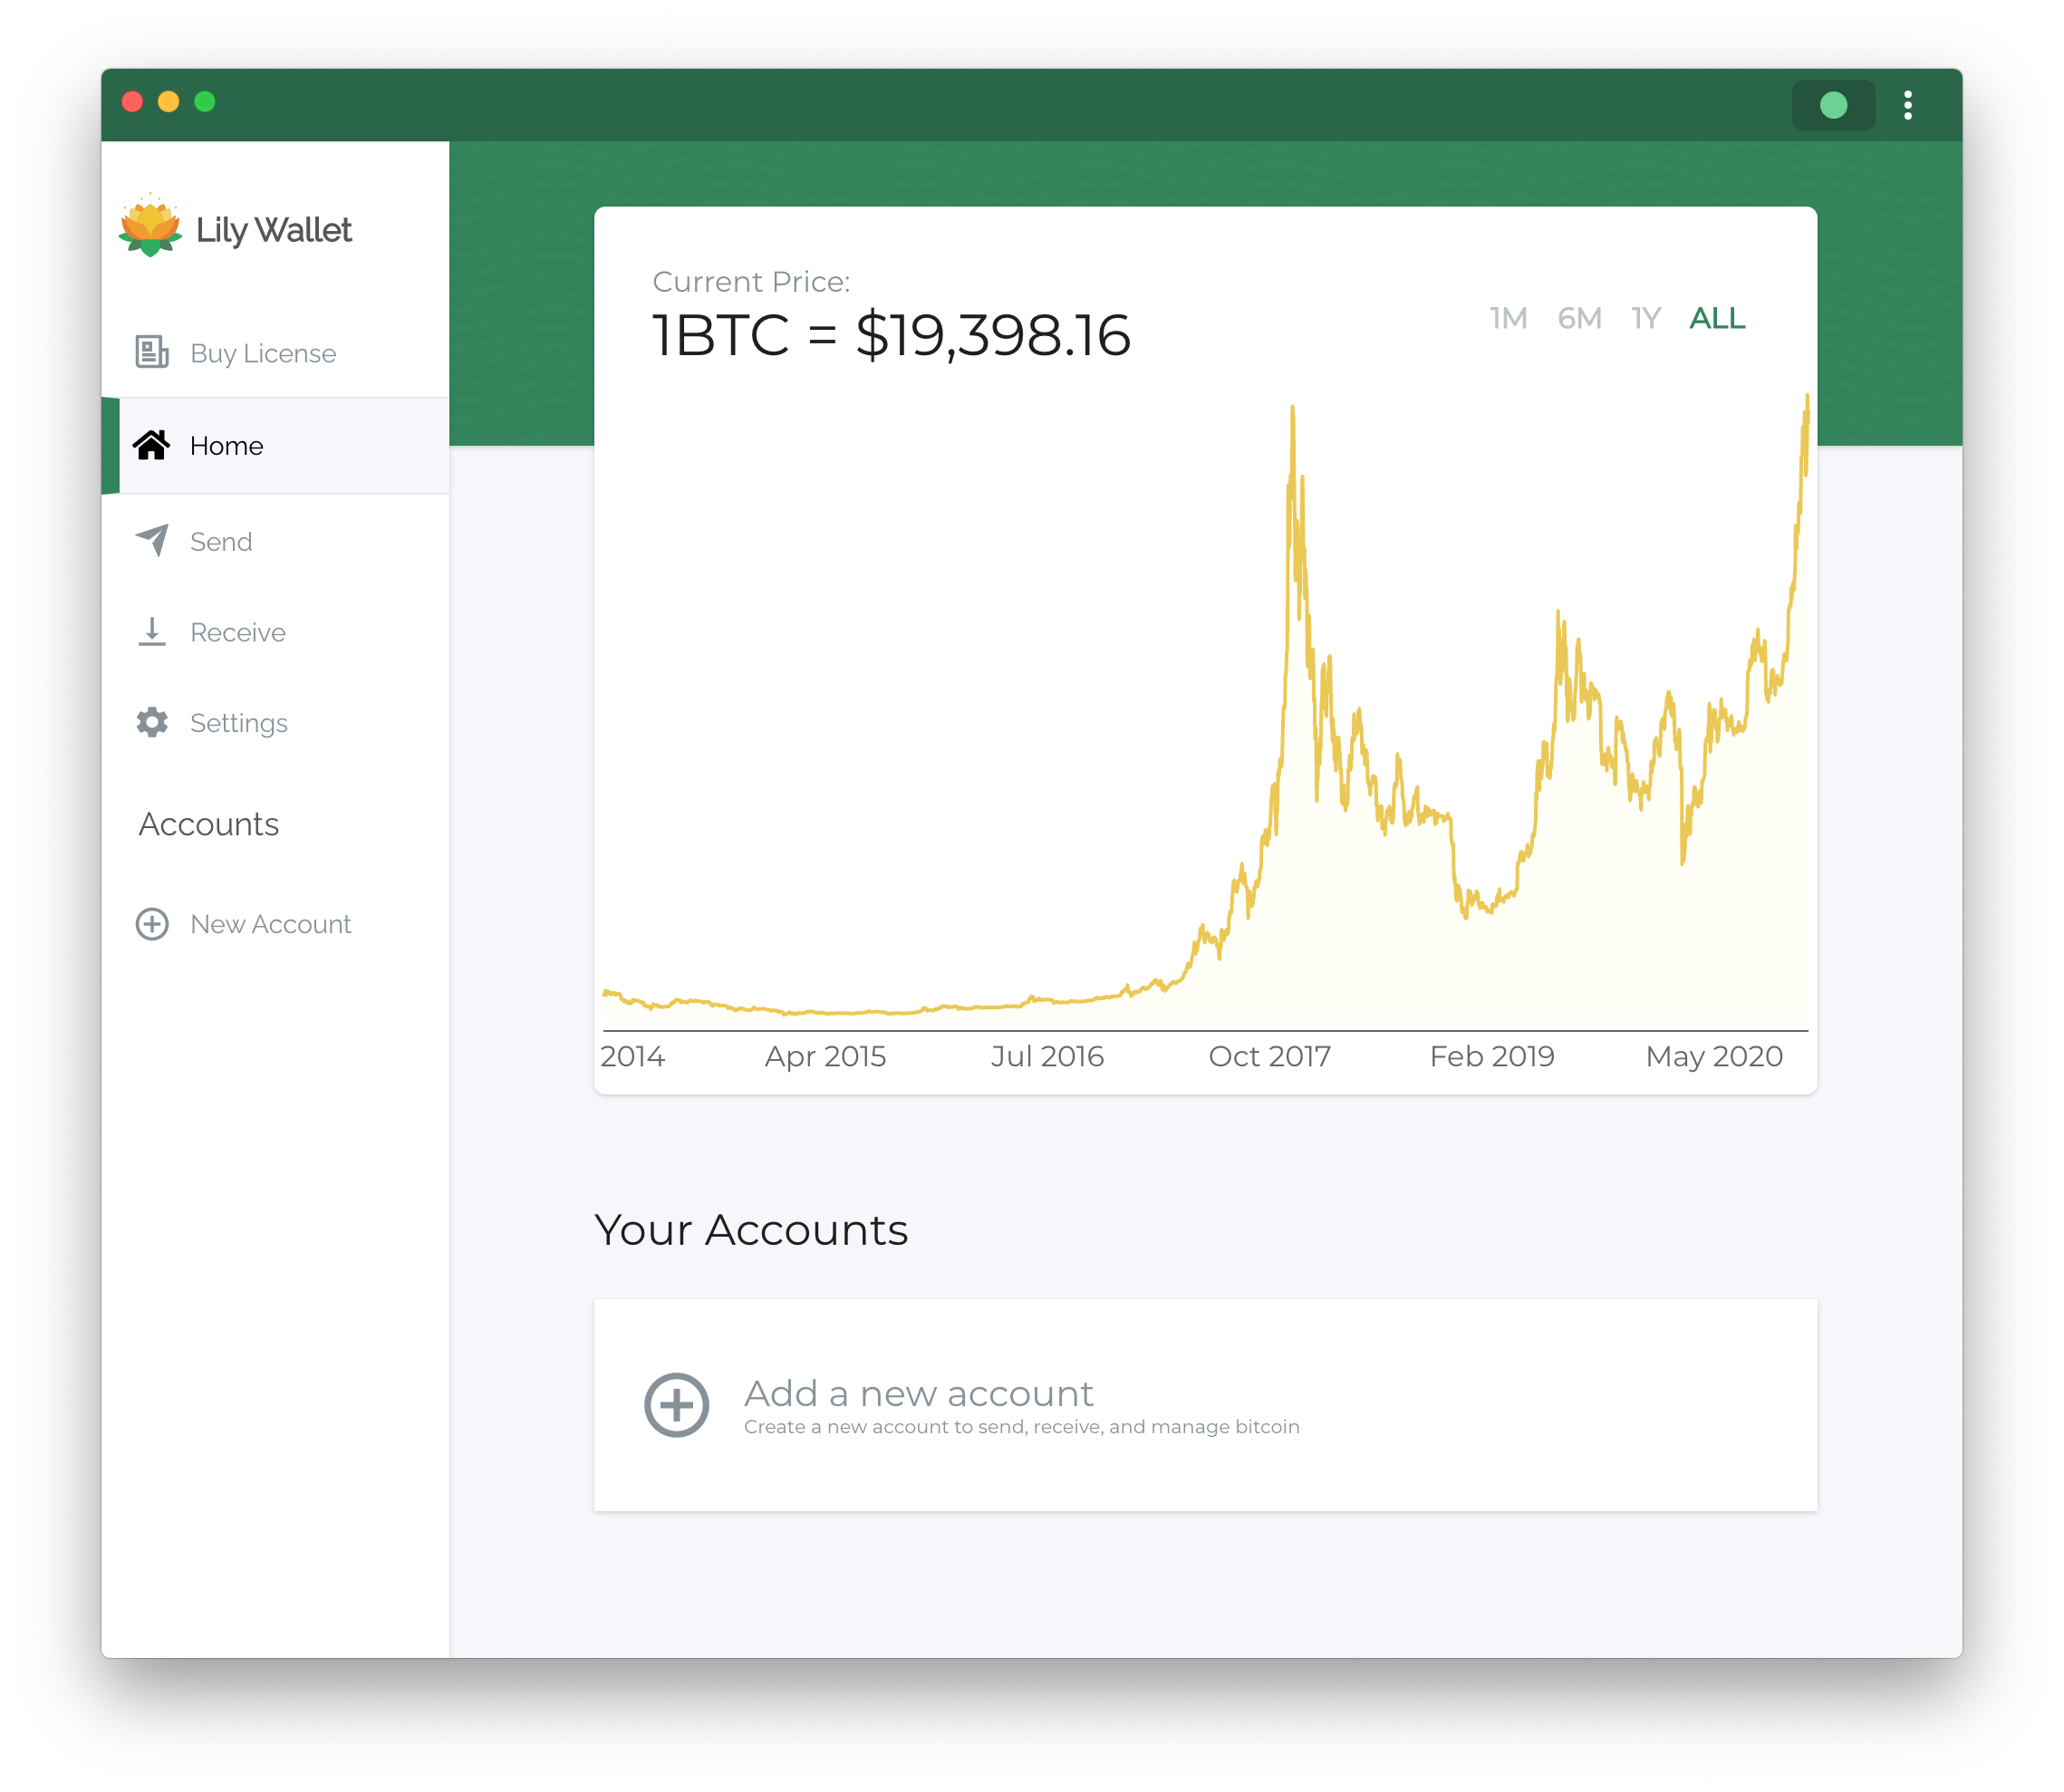
1) Click "Add a new account"
Clicking "Add new Account" on the home page or "New Account" in the app's sidebar will bring you to the New Account page.
2) Click "Hardware Wallet"
On the new account page, click on the "Hardware Wallet" option.

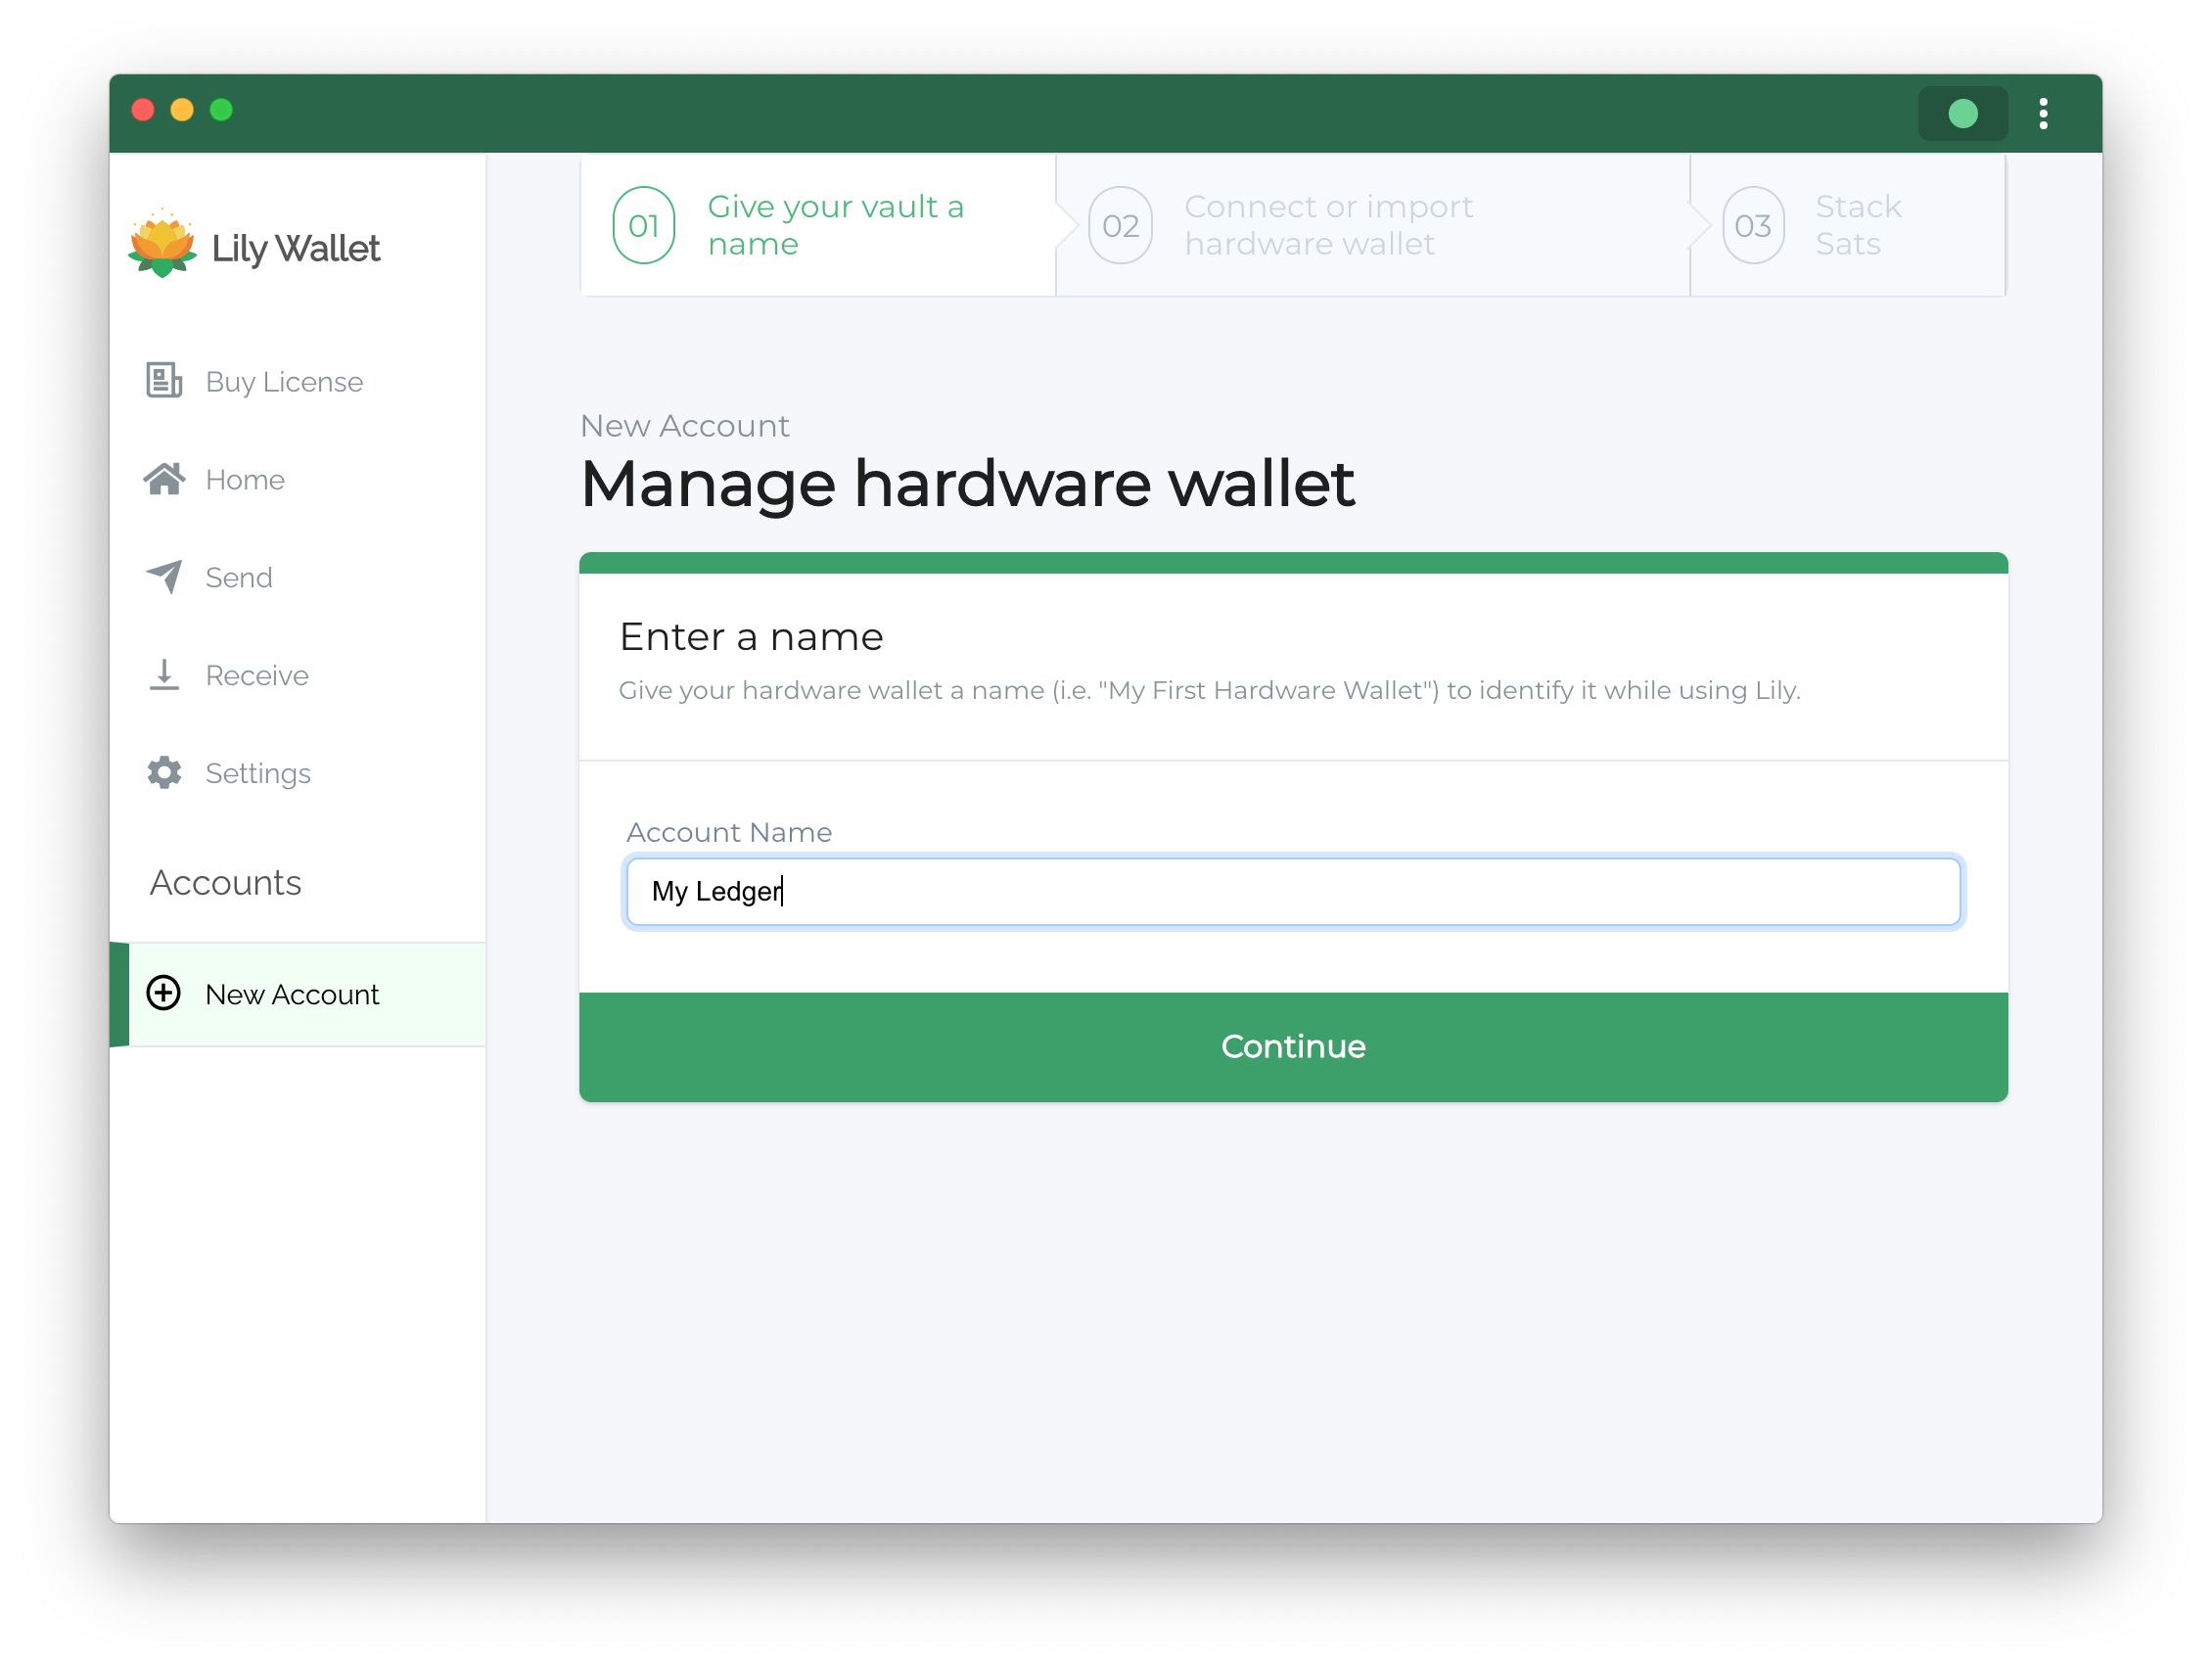
3) Give the account a name and click continue
Give your account a name to identify it when you are managing multiple accounts. For single hardware devices, users typically use the name of the device. Users can change the account name later on the account's settings page.
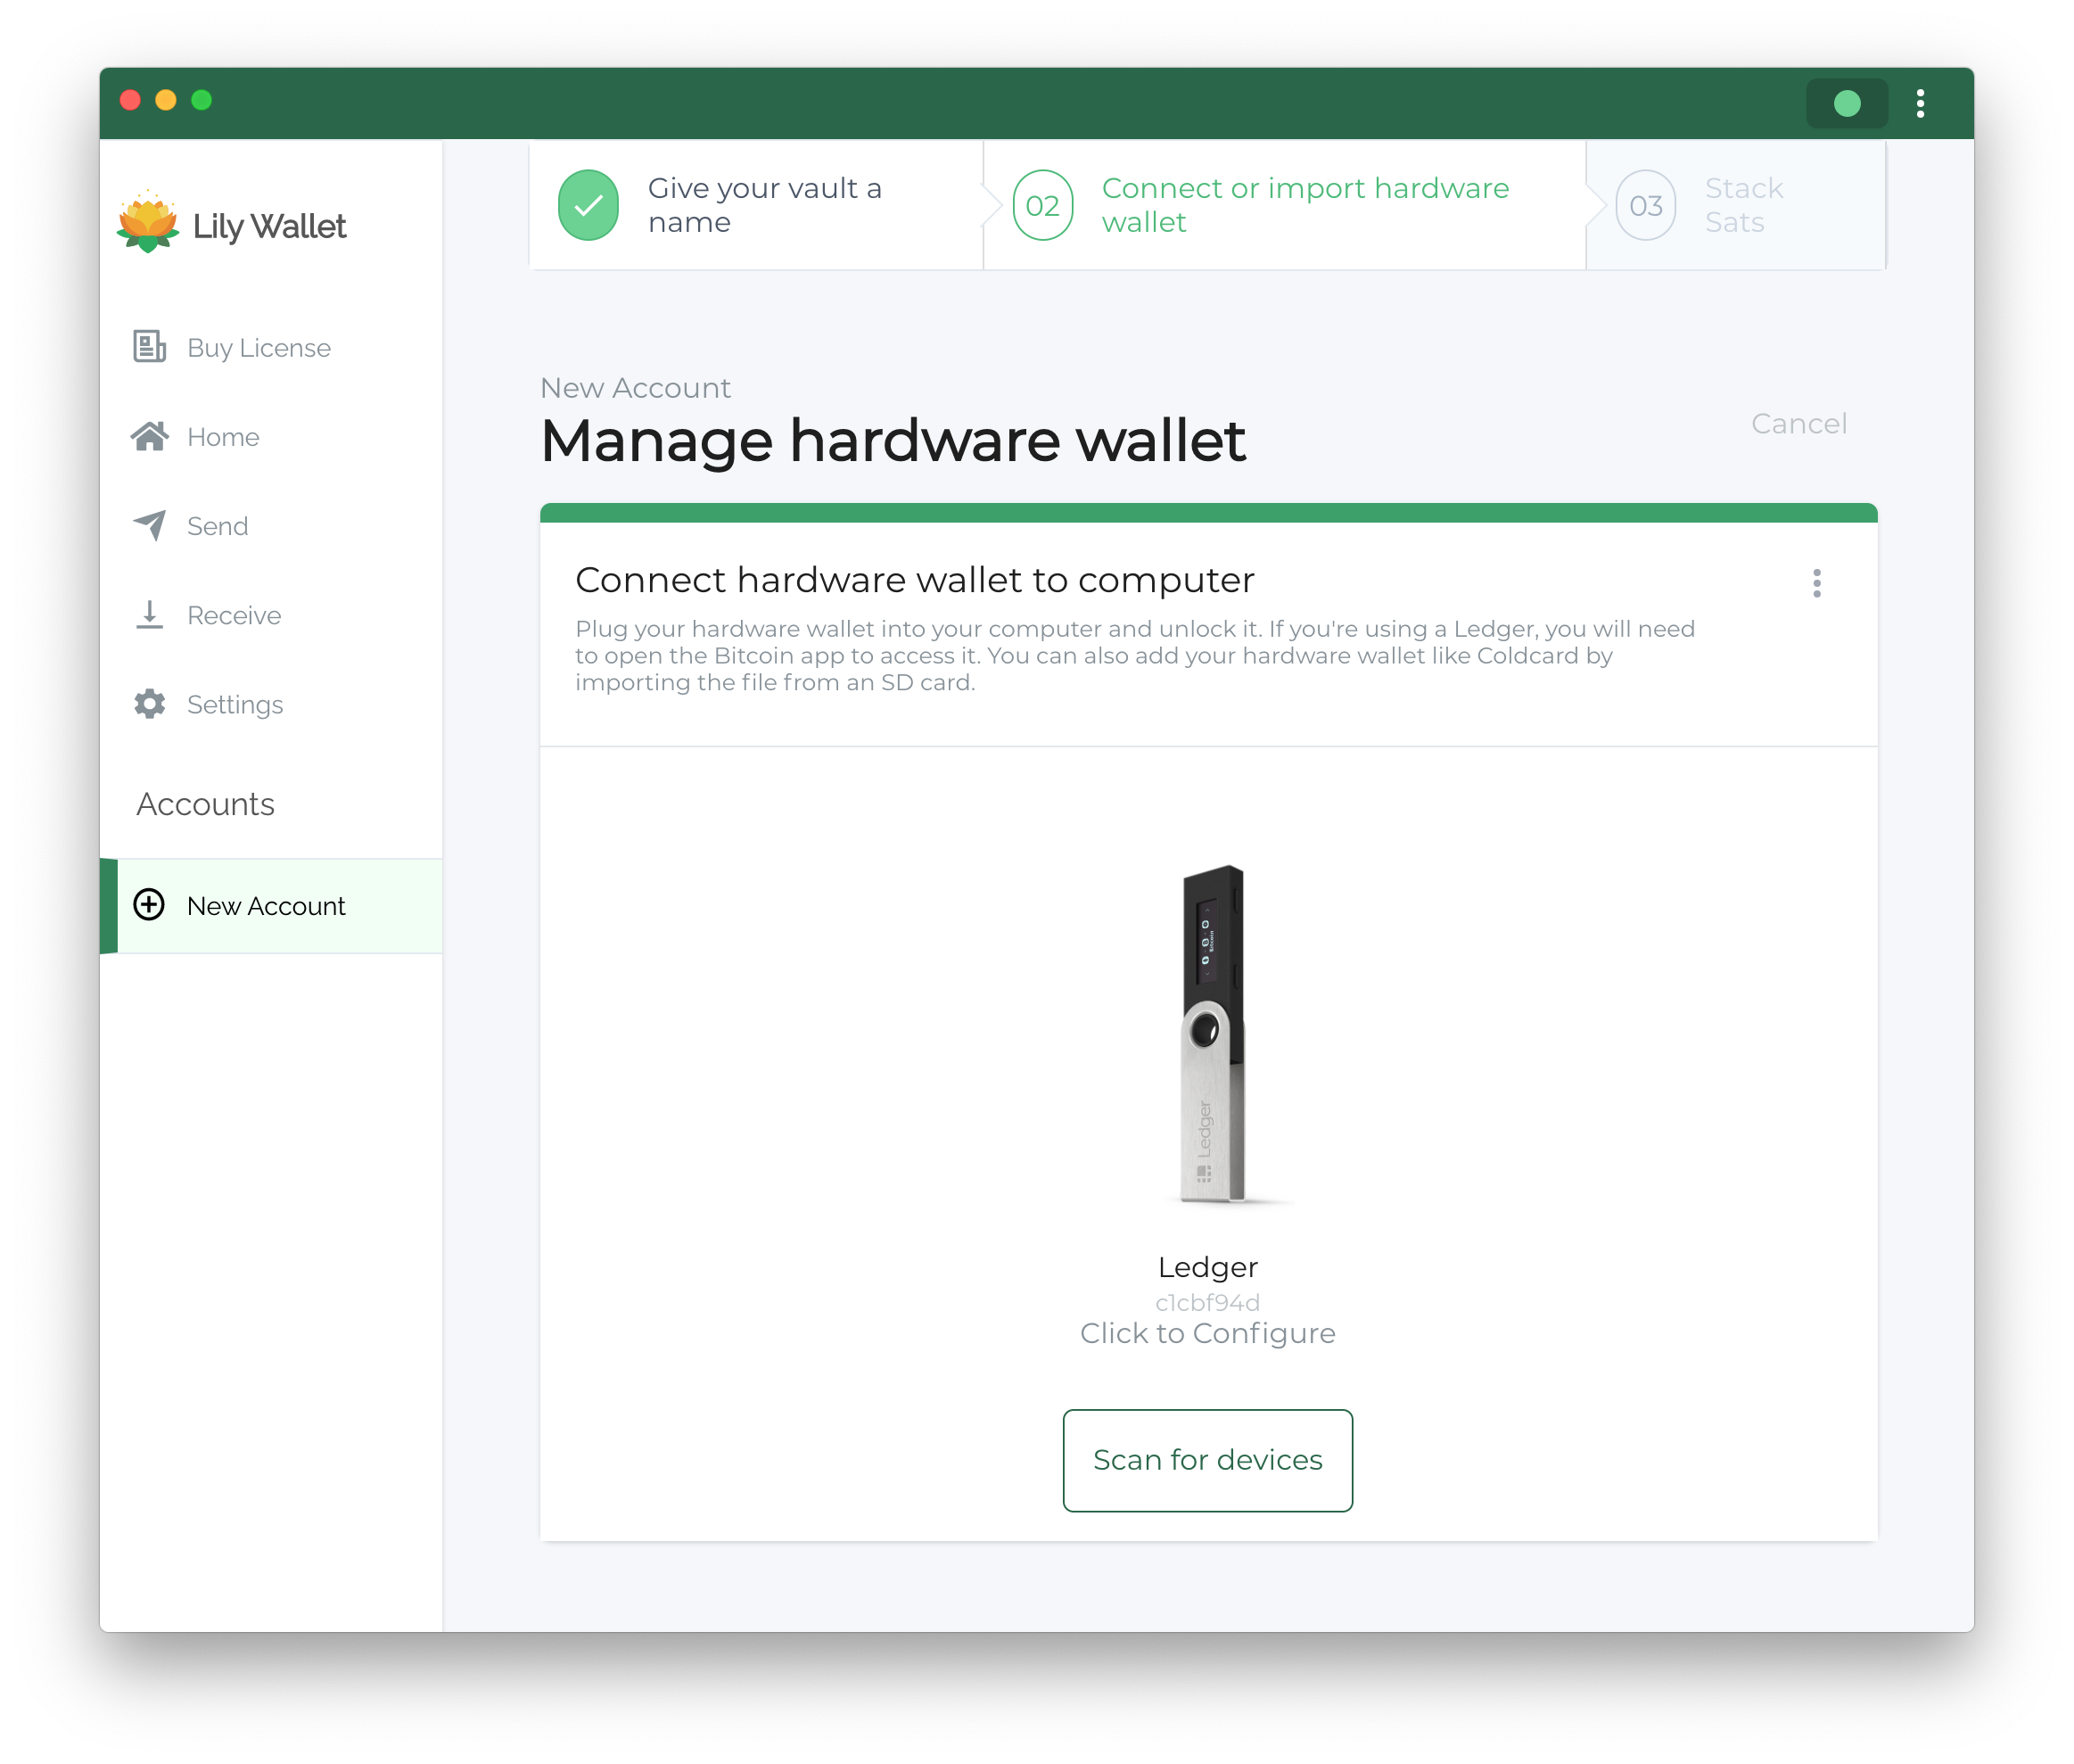
4) Click on your device
Select the device you want to manage with Lily.
Some devices like Coldcard support airgapping, allowing you to add a device without plugging it into your computer.
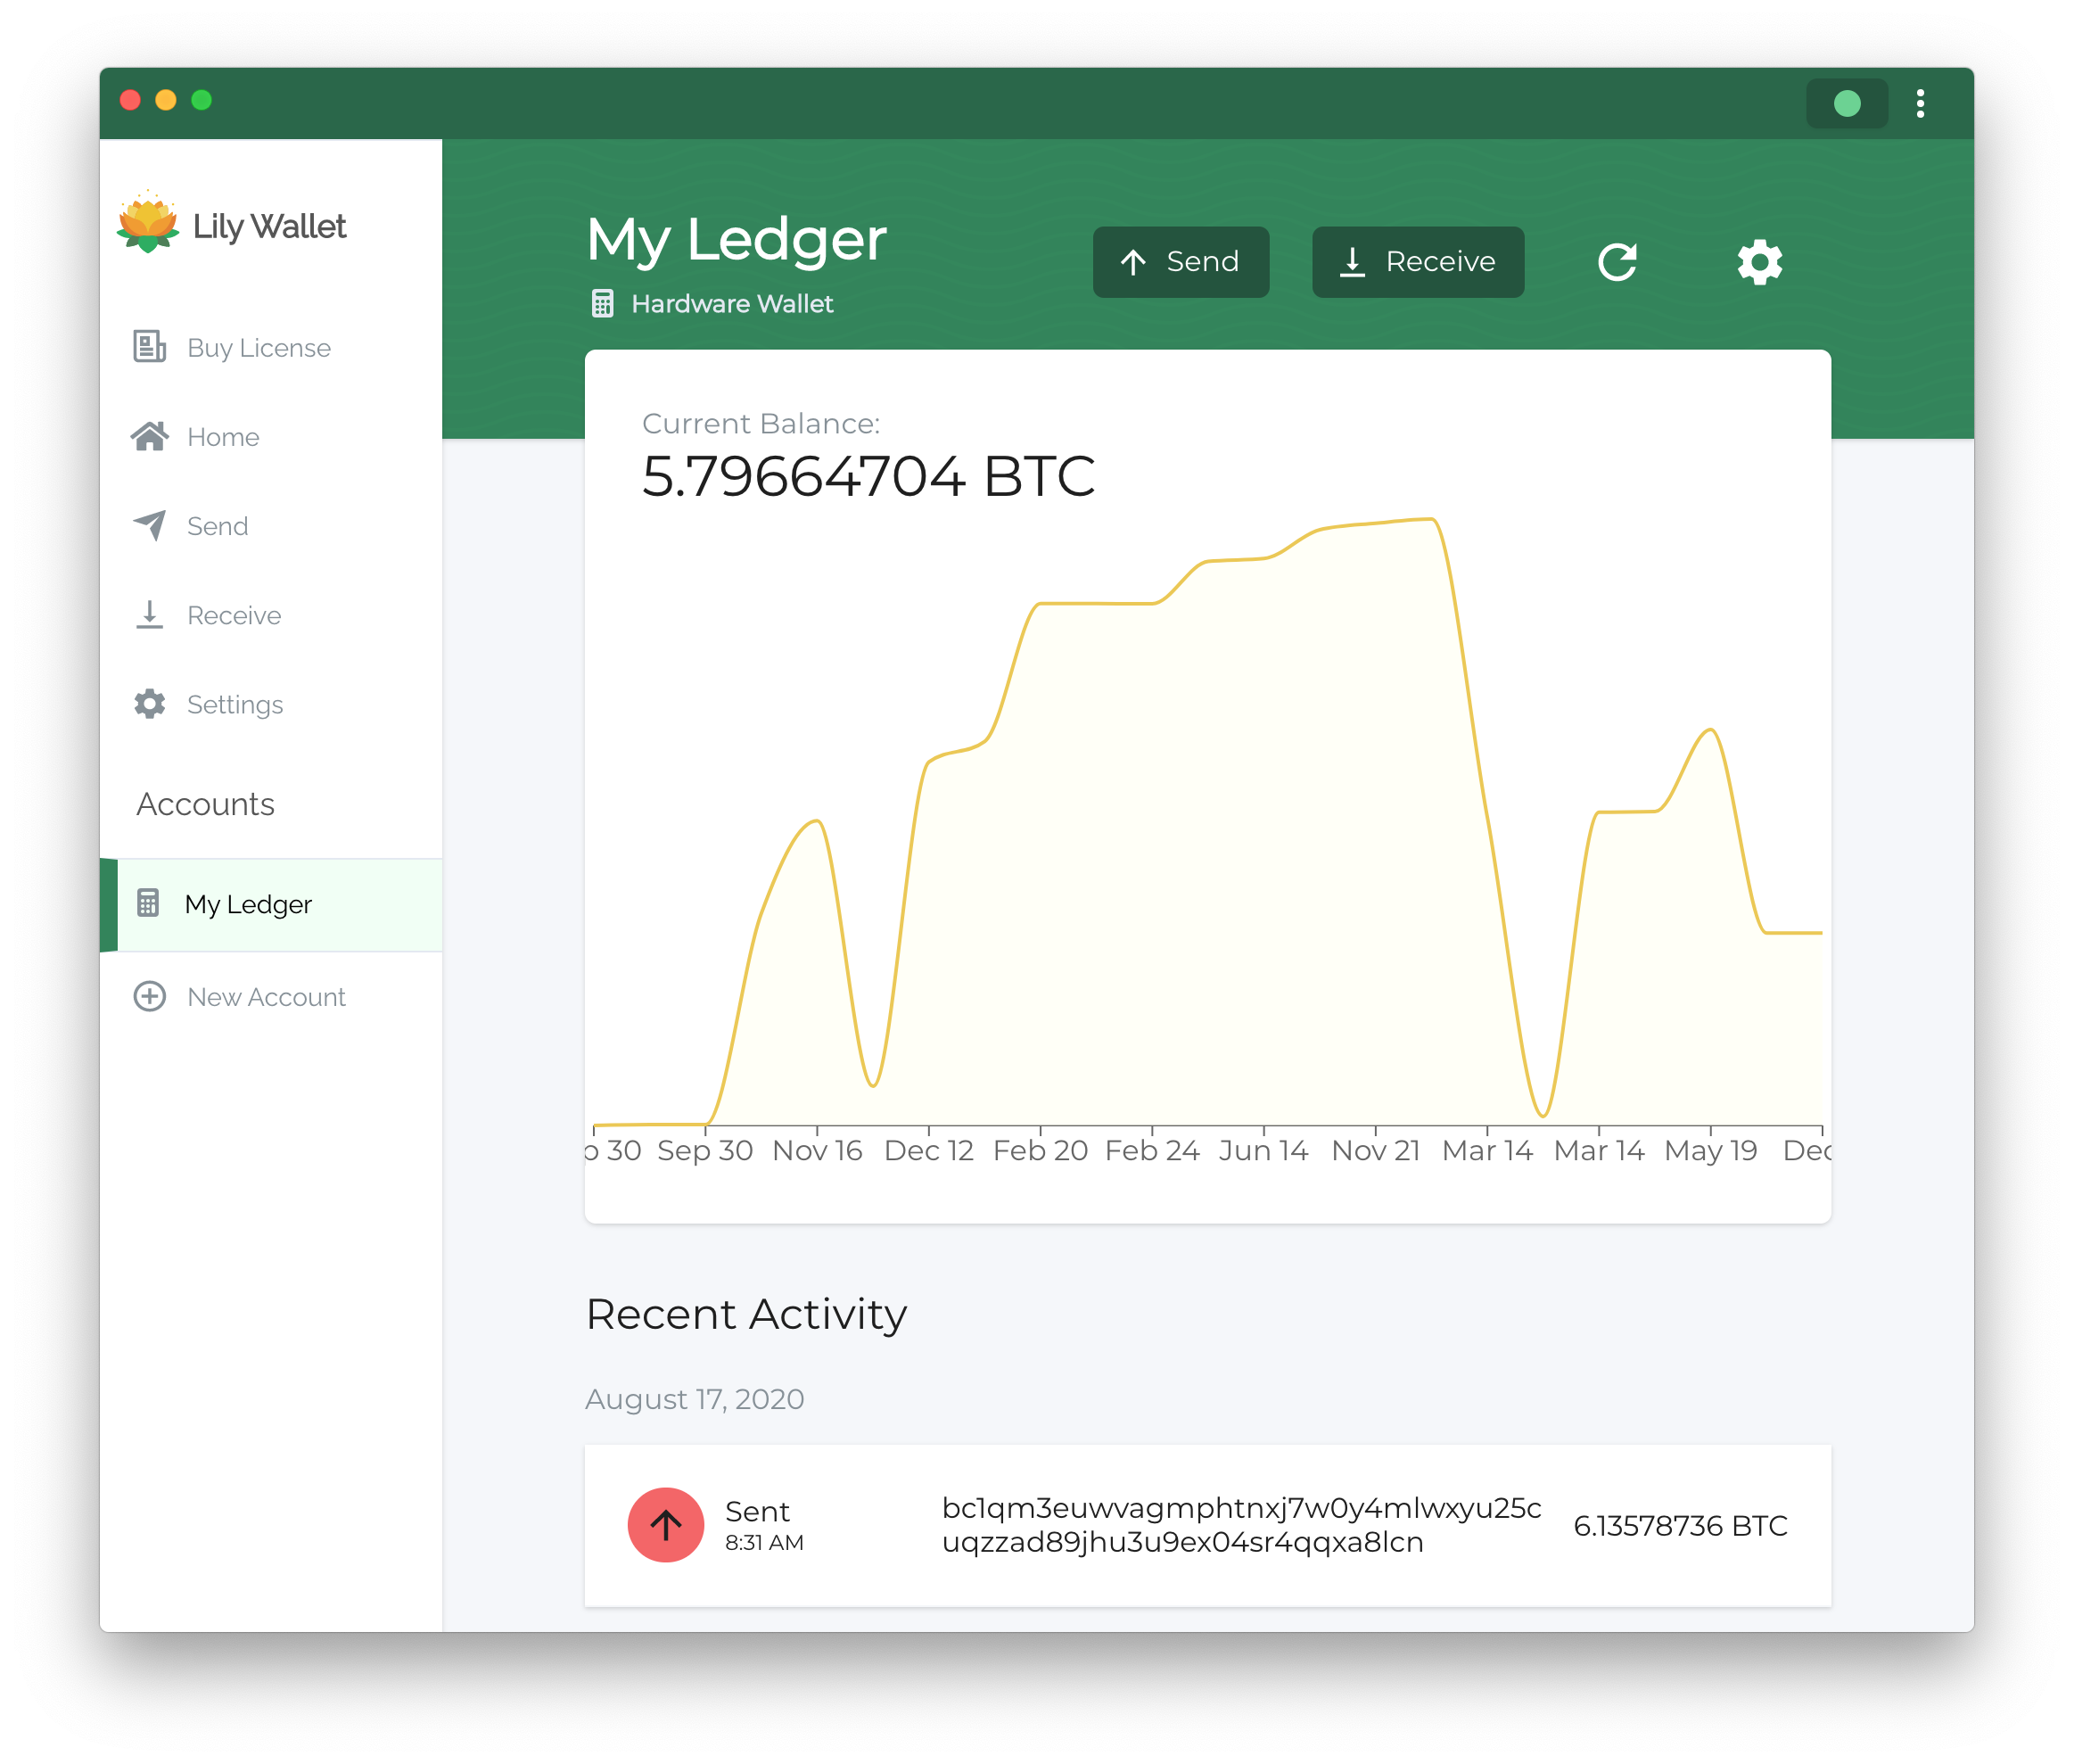
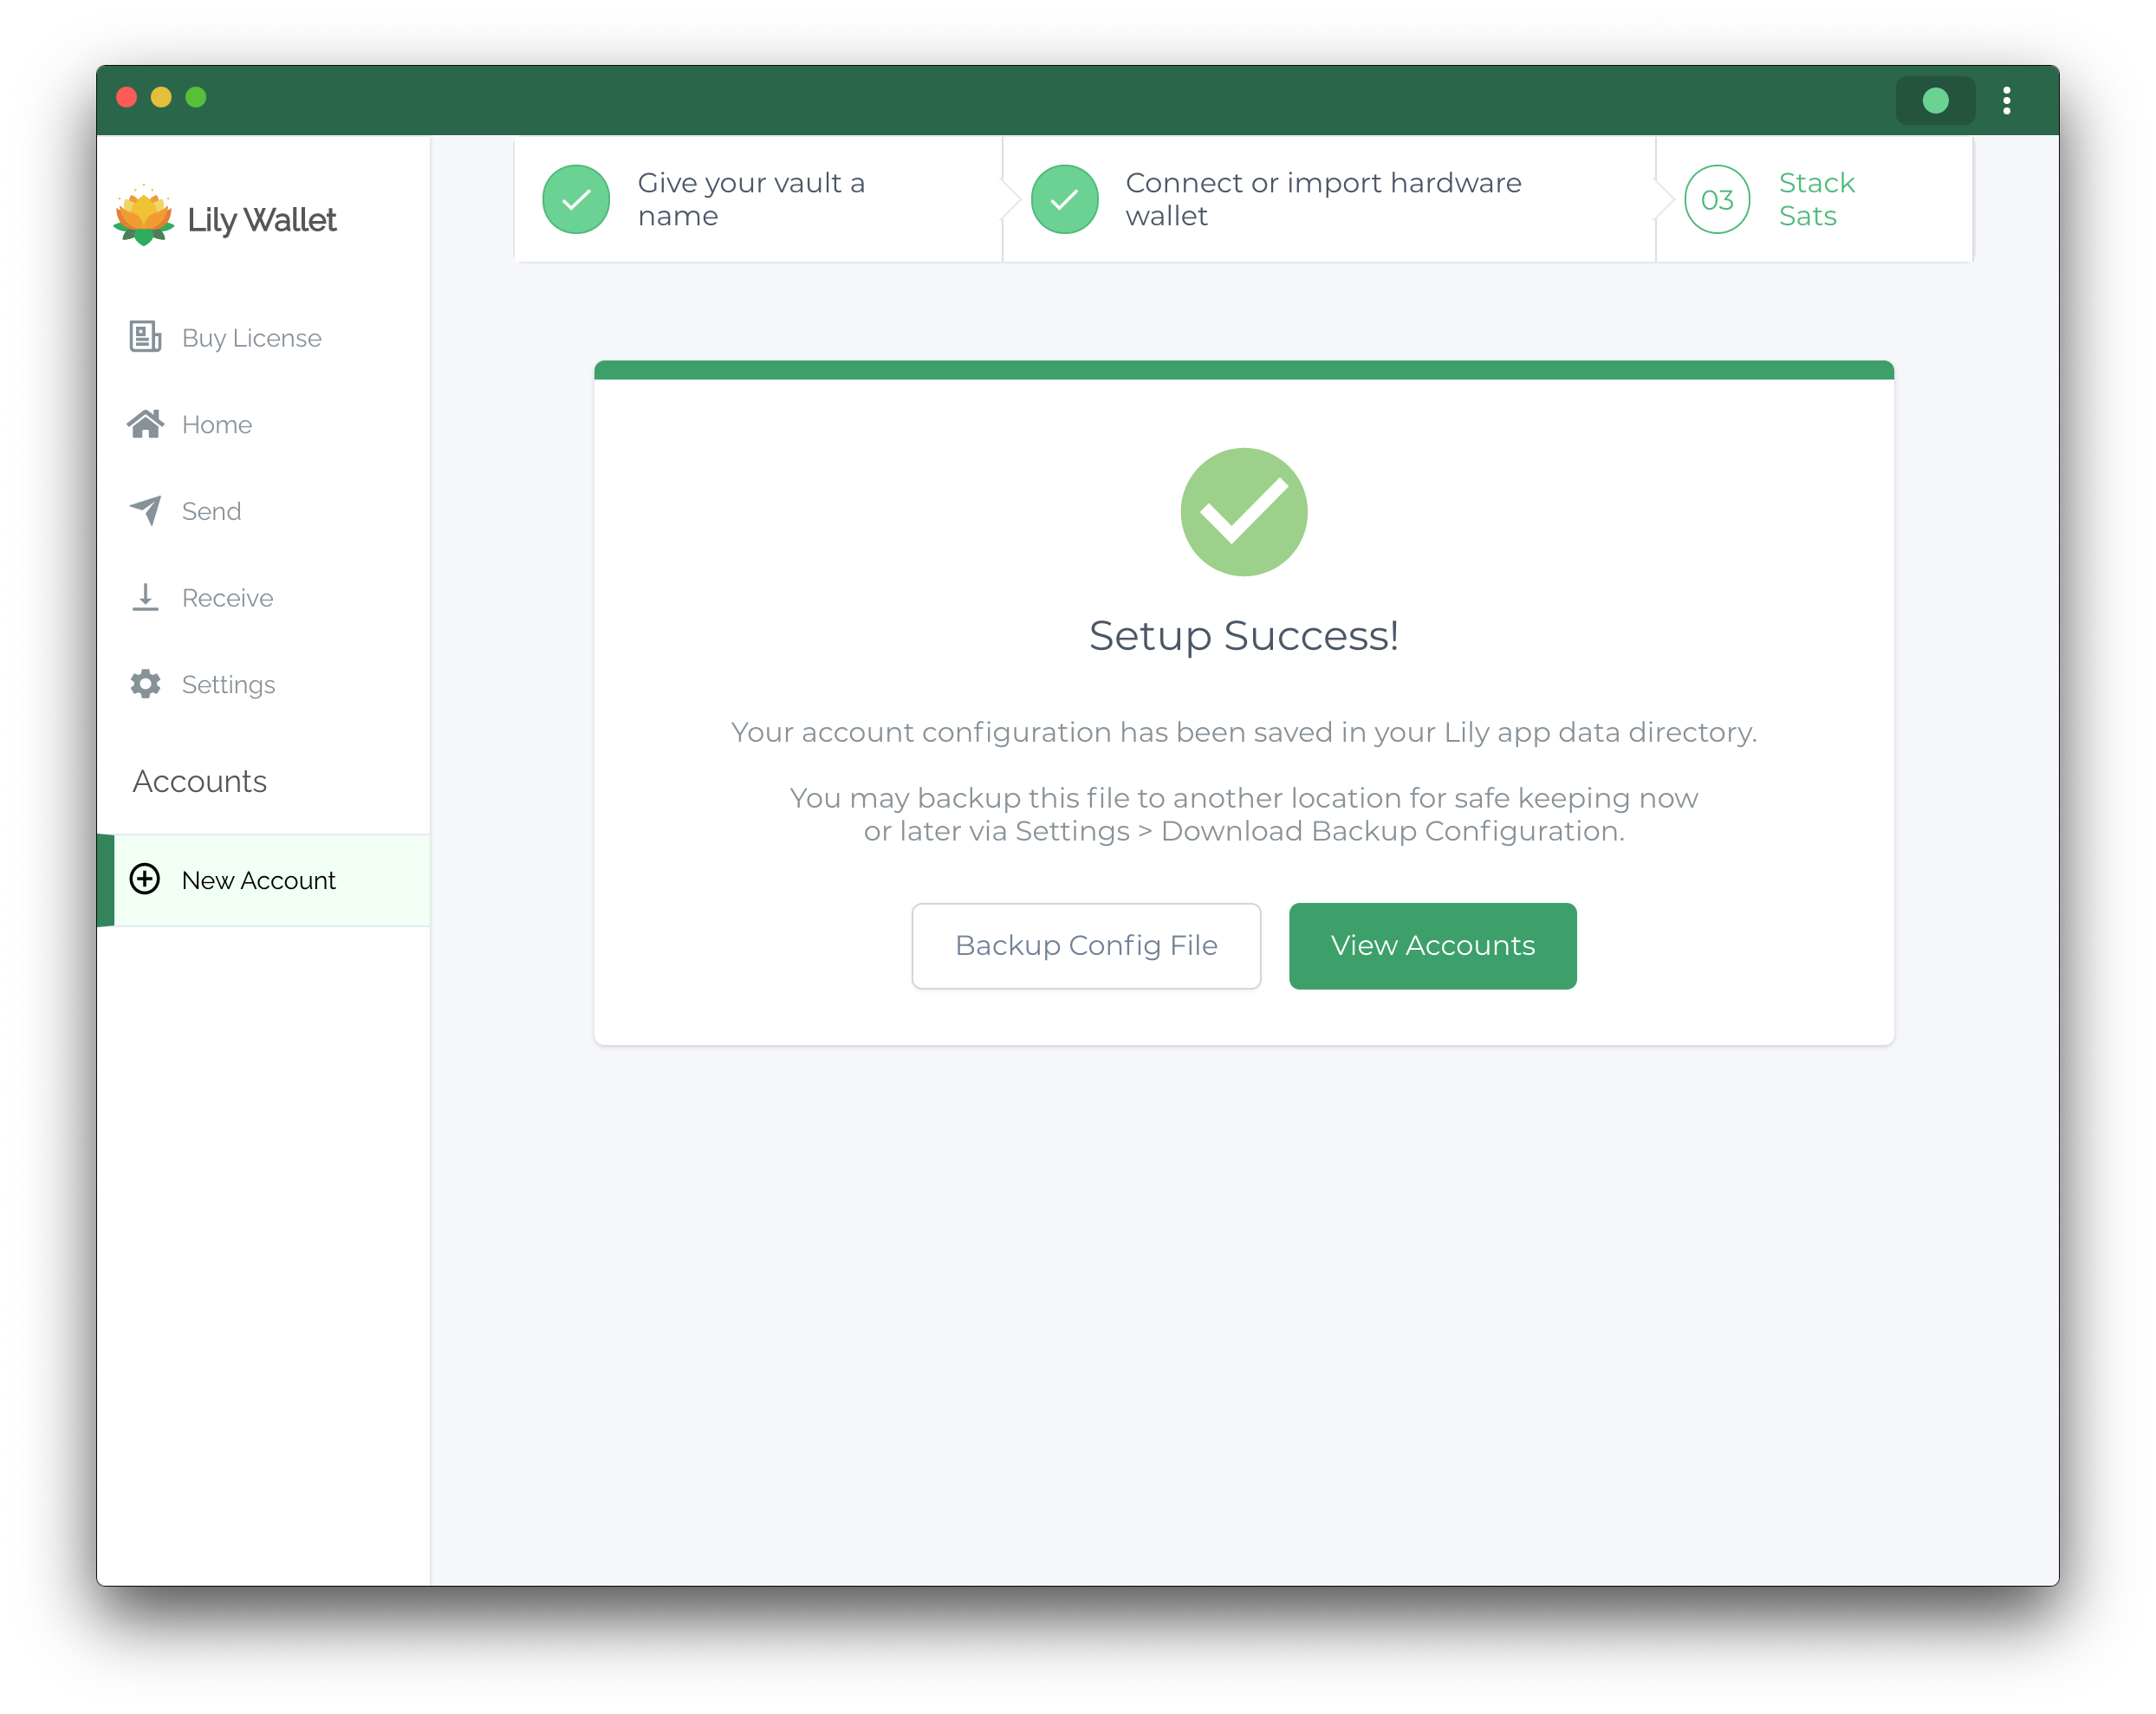
5) Success!
You have successfully added your hardware wallet to Lily. If you have used the device to manage funds in the past, your transaction history and current balance should populate.
6) Verify Balance
Once you have successfully added your hardware wallet to Lily, go to the account page and verify that your balances and past transactions appear.